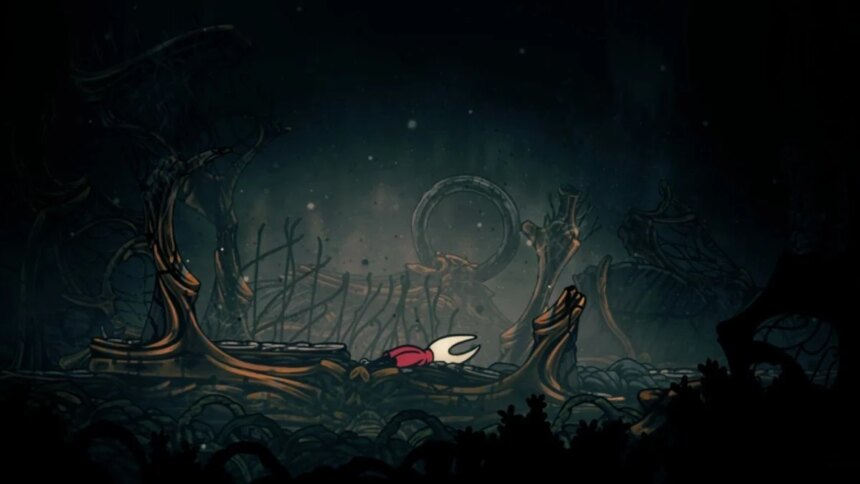
Welcome to the Foundry
In the whimsical universe of Hollow Knight: Silksong, the Foundry is like that one labyrinthine basement where you think you’re sneaking in for a late-night snack but instead find yourself deep in a mysterious relic hunt. It’s both a perilous journey and an adrenaline-filled treasure hunt, complete with better rewards than that crusty old donut at the back of the fridge. This part of the game is particularly vital for snagging a shiny new moving skill—introducing the remarkably inventive Clawline (or as it may be fondly known, the Grapple).
First Steps into the Chaos
Upon descending from the Whiteward, players may stumble upon an immense, lifeless automaton reminiscent of the Fourth Chorus boss. To proceed, do not panic (even though one may want to) and simply pull the lever nearby—yes, that lever that looks like it’s been waiting to be yanked for eons. After flexing those lever-pulling muscles, hightail it left until a bench is sighted. Ah, the sweet solace of rest!
Once rejuvenated and mentally prepared for the chaos about to unfold, venture eastward. Stay mindful of your surroundings, and make your way through a spike-laden gorge—think of it as the game’s way of reminding players that they should really invest in some protective gear, like shin pads. Hidden away in a darkened corner lies a concealed Fragment of Coil, quietly biding its time until discovered.
Vertical Mayhem: Pits, Bugs, and Craft Metal
Refreshed and revitalized, consider a brief pause before leaping to the left to trigger an upward air current. Think of this mechanism as a lazy elevator that thinks customers should take the stairs—down it goes through a sprawling vertical shaft littered with precarious ledges and mechanical insects ready to spring into action for no reason other than their programming. One must descend carefully lest they become an oversight casualty to these mischievous little critters.
Upon reaching a chamber filled to the brim with pesky Transporter Mechs, whose job is to constantly whisk around explosives like they’re delivering pizza, the real challenge begins. The goal? Snag a chip trapped above on a high ledge. No need to engage these mechanical nuisances—after all, it’s not personal; they’re just doing their job.
Moving onward, the next room boasts another treasure: Craft Metal. Breaking open a shimmering rock will reveal this precious material—but be warned! Unbeknownst to players, a giant enemy, dubbed the Sub-Trainee, will ambush from behind. Just when you thought it was a treasure haul, welcome to the surprise “squeeze play.”
The Cauldron of Chaos
After the preceding escapades, players will finally reach the Cauldron, a vast chamber bursting with lava and suspended metal rings like some ancient set piece from a sci-fi movie. Here, the Clawline comes to the rescue, allowing players to latch onto rings—or even the occasional enemy—helping to leap across expanses like a graceful ballet dancer in a horror show.
But don’t relax just yet; mastering this power requires traversing the arena using only the new grapple. As if that wouldn’t be nerve-wracking enough, a relentless horde emerges in waves, and the last batch features two explosive Transporters simultaneously. Talk about a grand finale!
The Twelfth Architect and That Key
Returning to the automaton sanctuary, players can now use the Clawline to access an upper chamber housing an NPC/merchant known as the Twelfth Architect. This crafty merchant offers numerous handy items, but the crown jewel among them is the coveted Architect’s Key. For a mere 110 pearls—after draining wallets on all their tools, naturally—players gain access to the Architect’s Chapel, complete with the enigmatic Architect’s Emblem. This rare find enables the slinging of three offensive red tools and makes it possible for silk to recharge tools instead of pesky shells.
The Ventrica Station and Pit Secrets
Once players possess the emblem, it’s time to head west. After trundling through a tunnel and scaling a well like a eager mountain goat, the Ventrica station emerges, playing the role of a fast travel point that only requires 80 pearls for access. What a deal!
From Ventrica Station, be brave and take the left path. A gentle nudge to the first foe in sight is all it takes; cling to the left wall to evade boiling steam and descend into a new arena. Here, a brave Sub-Trainee will cause the ground to collapse, creating a domino effect that crushes it in the process. What a way to eliminate the competition! The reward for this clever chaos? Another Fragment of Coil.
Loam, the Map, and the Eternal Medallion
A short stroll down the line reveals a passage populated by massive, mobile rectangular blocks flanked by spinning saw blades. Climb the wall next to one of these obnoxious blocks to uncover a breakable wall. Behind it piques the curiosity of a mysterious character named Loam, who cryptically shares lore that deepens the game’s enigma connected to the Citadel.
Continuing this adventurous escapade provides the opportunity to snag the Foundry map, conveniently pinned inside a chamber. An Osseous Manuscript hidden in a breakable wall can be collected as well. What’s more? Near the bench, an astute player may notice an enticing opportunity: for just 25 pearls, Hornet can hear motivational cryptic messages whispering promises of redemption through toil.
Scaling the platform above temporary benches (that also come at the price of 15 pearls each time they’re used, that’s just cheeky!) reveals a secret passage in the room’s ceiling. Here, amidst the dim light, a treasured memory medallion lies on a pilgrim’s corpse awaiting reclamation.
The Minor’s Drill
Towards the conclusion of this madcap exploration lies a grand well deterred by a massive stone block. By flipping a nearby lever (because nothing screams adventure quite like a lever!), players plunge into a hidden area where the Miner’s Drill awaits. Despite its misleading name, this tool is more akin to an offensive weapon, perfect for schooling armored foes where they stand.
Finally, after navigating through the upper tunnels, an ultimate lever awaits activation, leading the way to the Alcoves of the Chorus—complete with an inviting bench nearby, perfect for that well-deserved rest after a whirlwind tour of chaos and discovery.