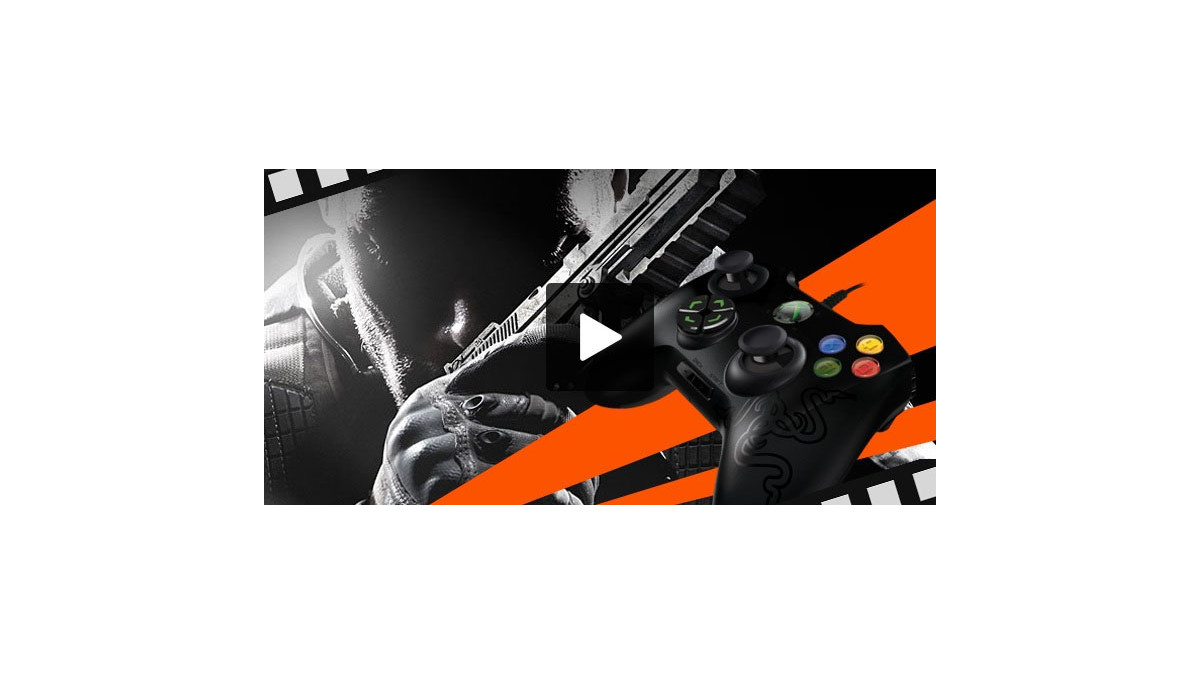
Tommey, a renowned player in the European Call of Duty scene and a member of the epsyloN team, is launching a new series of tutorial videos in collaboration with Razer Academy.

Tommey
, one of the top Call of Duty players in Europe and currently part of the epsyloN team, is producing a series of tutorial videos in partnership with Razer Academy. This first episode, titled “Intro and Settings,” covers the essential game options you need to configure, such as radar position, stick sensitivity, and graphics settings. Tommey also discusses class setups, making this a perfect guide for anyone looking to step into the competitive scene.
“Intro and Settings” by Tommey
Opening Remarks
00’01”: Hey everyone! I want to kick off this video with a brief introduction as I know some of you might be wondering who I am. To keep it short, I’m a competitive player in Call of Duty and I’ve participated in many events globally. Many know me by my gamer tag, ‘Tommey’. Currently, I play for a new organization called eWin, which I hope will become one of the leading teams worldwide.
00’36”: Now, back to the core topic: a few weeks ago, I was approached by Razer to create YouTube videos for the Razer Academy. These videos will relay how to improve your gameplay and provide tips that can help you.
01’00”: This video will cover the basics, but future topics will get more specific—starting with the essentials is important.
01’39”: Sensitivity settings have been the most common question I receive. People want to play with my settings, but I advise against it. You need to find the sensitivity that works for you. For instance, if I suggest 6, it may not suit your play style. For Assault Rifle (AR) players, a lower sensitivity like 2 or 3 might be better, as they typically maintain positions and shoot enemies rather than rushing into melee. Precision is key here. Conversely, if you’re an SMG player, a higher sensitivity like 4, 5, or even 6 would be beneficial for quick reactions as you move toward objectives.
02’47”: As you can see, my sensitivity is set to 6 because I’ve always preferred higher sensitivities, and I don’t stick to just one role. I switch between sniper, SMG, and AR roles, so ensure your sensitivity aligns with your play style.
03’17”: Now, let’s discuss graphic settings. The Safe Zone section allows you to adjust where your radar appears. In Call of Duty, the radar sits at the edge of your screen, which is crucial for competitive play. You need to see it constantly to be aware of teammate locations and other game elements. Reducing the Safe Zone brings the radar closer, which is advantageous.
04’19”: It’s essential to find a balance so your Safe Zone isn’t too small or too large, keeping the top left corner within your field of view. Personally, I enable color assist, even though I’m not colorblind. I find the colors are just more visible on the radar and screen; enabling it can be beneficial.
04’46”: There aren’t many other settings to adjust, but remember, the radar is key—constantly monitor it when your teammates relay information.
05’13”: Now, I’m heading into a Custom Game to touch on class setups. As you can see, I have two AR classes. The Pick-10 system in this game significantly changes the gameplay. For example, you can have a secondary weapon by sacrificing another item.
05’45”: On this AR class, I include Toughness and Flak Jacket, which counters EMP grenades that disable your red dot sight. Toughness reduces flinching upon being shot, making this class ideal for aggressive play.
06’00”: My other AR class includes Dexterity and only Toughness as a secondary perk. Dexterity allows you to aim faster after sprinting, granting me an advantage over opponents who lack it. I’ll dive deeper into class setups in the next episode; this one focuses on the basics.
06’32”: Competitive players usually use monitors between 22 and 24 inches with a response time around 2 milliseconds or less. It’s crucial your monitor doesn’t have excessive response delays. My PC monitor has a response time of 5 ms, which means there’s a 5 ms delay between joystick movement and action on-screen—2 ms is the ideal minimum.
07’15”: I used to play on a big TV, and I didn’t realize it, but I’ve improved my gameplay significantly since switching to a monitor.
07’25”: Remember, this video is just about the basics and aims to help newcomers to the game. I’ll see what you all think, so please leave your thoughts and suggestions for future episodes on what topics you’d like me to cover and how I should address them. Don’t hesitate to drop a comment or reach out to me on Twitter. I’d love to chat with you.
07’57”: A big thanks to Razer for sponsoring me to create these YouTube videos. I hope to bring you the next episode next week and will likely continue publishing weekly episodes.
08’10”: Thanks for taking the time to watch. I’ll leave some additional details in the description. Make sure to subscribe to my channel. Cheers!
For more videos, check out Tommey’s channel.