Getting Into Act 3: The Ultimate Guide to Hornet’s Shenanigans
If there’s one thing that’s guaranteed with Silksong, it’s that conditioning doesn’t come easy. Finishing the game doesn’t simply hand over the keys to the final act of Hornet’s escapades. Hold on to your needle, folks—what follows is a whirlwind guide on how to complete Act 2 and prepare for the chaotic rollercoaster of the final act down in the dark depths.
Requirements to Kick Off Act 3
- First things first: wrap up all the wishes from Clochelle and Chantsoir (that first shrine is essential, tick that box). Finishing every single wish floating around in Act 2 is the foundation for everything that follows. And guess what? That involves handing over pretty hefty amounts of Pearls for those restoration wishes. Who thought being charitable would be so expensive?
- Next up: chat with Pavo at Clochelle’s centre. He’ll be diving into his inventory to hand over the keys to your fabulous new digs (okay, maybe not so fabulous, but it’s yours).
- Saved your fair share of 25 Bugs? Good job! Send them off moving three times with the Bugs’ Caravan. Find the Pale Lake, all the way to the right of the Putrid Vents. There, speak to the Bug Master to trigger their final trip. Aim for the ultimate goal of founding Bugtopia. It’s like living the dream, but with more legs.
- Defeat the end boss, the Mother Silk. As of now, there’s only one ending available. If a shiny trophy labeled “Tormented Child” sounds appealing, this is the moment to dive into the Parasite quest.
- Once the credits roll, save your game and head straight to Chantsoir. It’s party time!
Silk and Soul: A Twisted Journey
Fulfill all the requirements listed above, and the Overseer of Chantsoir will put on a dramatic show, acknowledging all your Herculean efforts. Instead of bellowing ‘off with her head,’ a special wish will be granted to imprison the Mother Silk. But wait—there’s a catch! Gather all her family members, or what remains of them, and grab a special trap. Because, of course, building a family reunion is never simple.
- The Ritual Trap is cleverly hidden in a secret section of Alta’s Weave-nest, under the Bone Chasm. Chat with Eva to obtain a hint. A glorious hole in the ceiling leads to a secret space where the iconic trap awaits, just waiting to be claimed.
And now, here’s the lowdown on where to find the family members for the Overseer:
- Meet the Bells Hermit in the tunnels below Clochelle. He’s not just your average grumpy old man.
- The game’s first NPC, the Chapel Maiden, is hanging around before the Bone Chasm village.
- The inventor had an unfortunate fate, and snatching his souls becomes quite the challenge. He met his unfortunate end deep in Bilesac. If it hasn’t been done already, grab the Bilesac map before scaling the area and preparing for a throwdown with Grolo the Great Toad. Expect a long and arduous battle, because for every failed attempt, players have to traverse the entire area again. Fun, right? Once victorious, waltz into the next house where they’ll find the body and souls that are needed.
Before Entering Act 3: A Point of No Return
Take note, Act 3 is a point of no return in the Silksong universe. Pharloom will be forever transformed. NPCs might kick the bucket, buildings will come crashing down, and those delightful wishes will vanish into thin air! Completing all possible quests, including deliveries, is strongly advised. Specifically targeting the merchant at the Pilgrim’s Rest in the Far Lands and the Exiled Ant in the Hunter’s Path. They’re bound to run out of stock, so better get shopping!
Once all shiny items are collected, stroll on back to the Overseer. Then, make your way to the Cradle to face off with the Mother Silk again. The Overseer will be waiting on a ledge just prior to the boss fight to give final encouragement or perhaps just to witness your imminent doom.
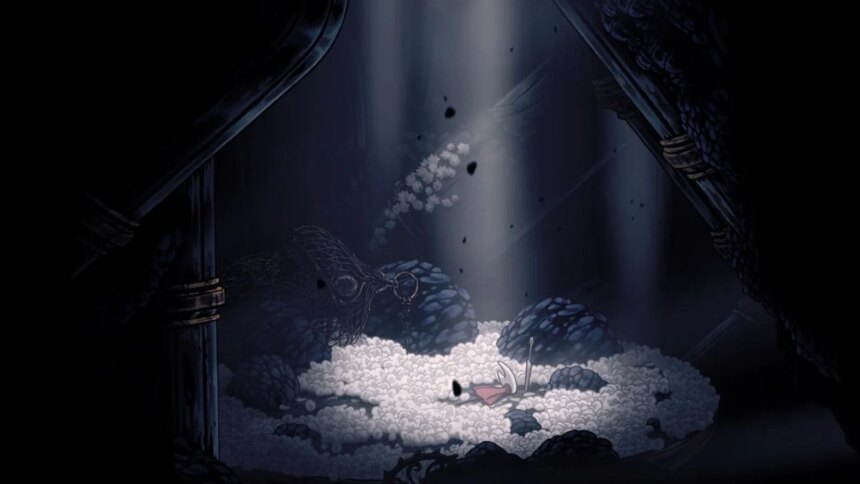
After defeating Mother Silk, Hornet will leap onto her like a well-trained acrobat. But this time, instead of hitting B/Circle to Weave, hit Y/Triangle to use the Special Needle. Keep that button pressed for the ultimate payoff.
A cinematic will follow, featuring unexpected twists. Once the credits roll, the main menu and the save file appearance will undergo a transformation. All that’s left is to load the saved game, although navigating this could prove to be a bit tricky. Buckle up—it’s time to dive headfirst into Act 3!